- Apply for the ticket drawing
- Check Drawing Results
- Pay the Cost of Ticket(s)
- Issue QR Code
- Entering Nintendo Museum
- Making a Reservation for the Craft & Play Workshop
Apply for
the ticket drawing
Tickets are sold via a randomly selected drawing. Entries will be accepted beginning three months prior to your visit. The cost of the ticket must be paid after your entry is drawn.
A free Nintendo Account is required to enter the drawing and purchase tickets.
*You will be redirected to the ticketing website.
Regarding first-come, first-served ticket sales
After the drawing is over, if there are any tickets available due to cancellations, etc., tickets may be purchased on a first-come, first-served basis. First-come, first-served ticket sales will be announced on the ticketing website. Tickets for time slots up to two months in advance may become available for sale.
Check
Drawing Results
The results of the drawing will be sent to the email address registered to your Nintendo Account. Please note that the time the email is sent may vary among drawing entrants, and it may arrive late on the day. You can also check the results on the ticketing website.
*To check your Nintendo Museum Ticketing Page, you must be logged in with the Nintendo Account you were using at the time of purchase.
Pay the Cost
of Ticket(s)
If you're selected, pay the cost of the ticket(s) by the specified date.
Only credit cards are accepted as forms of payment.
Please note that the ticket(s) will be automatically canceled if payment is not confirmed by the deadline.
Accepted credit card brands

- Visa, MasterCard, and JCB are accepted.
- Prepaid credit and debit cards issued by the above credit-card companies are also accepted.
*Only cards with a security code on them will be accepted.
*To make a payment, you must use a credit card registered for 3D-Secure (cardholder authentication service).
Issue QR Code
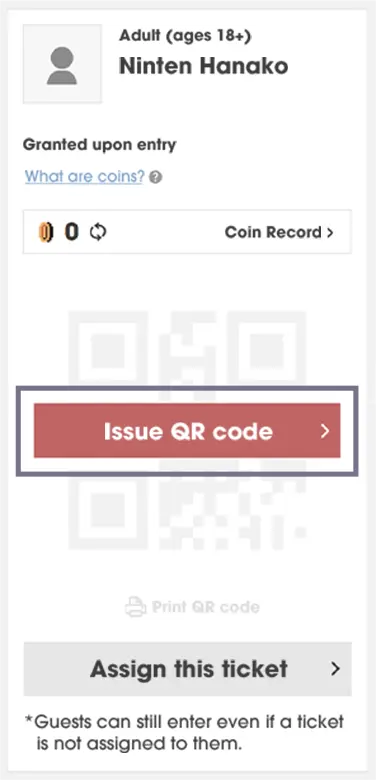
Tickets are QR codes.
Starting from 14:00 on the day before your visit, please go to the ticketing website, and click Issue QR Code under Review Tickets to issue your ticket.
*You will be notified when the QR Code can be issued via an email sent to the address registered to your Nintendo Account.
*Once you issue the QR code, the ticket can no longer be canceled.
OptionalAssign a ticket to another visitor
When purchasing tickets for multiple people, the Assign Ticket feature lets you give each visitor their own QR Code. The person receiving the ticket must have their own Nintendo Account in order to accept it.
If the ticket purchaser does not assign those tickets, they can present the QR Code for all of their accompanying visitors to allow their entire party entry to the museum.
What you can do when assigning
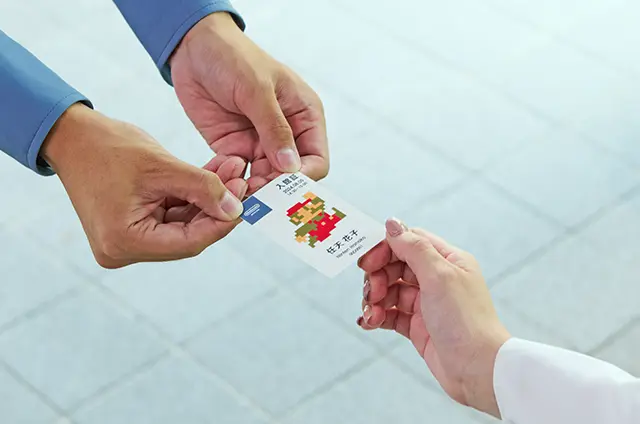
If tickets are assigned, upon entry to the museum, each visitor will receive a play ticket with the Mii character set to their Nintendo Account printed on it.
*To have an image of a Mii on your play ticket, you must set up your ticket in advance on the ticketing website.
Ex.)
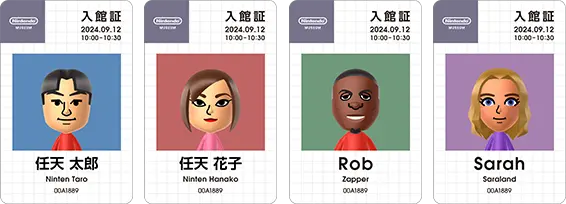
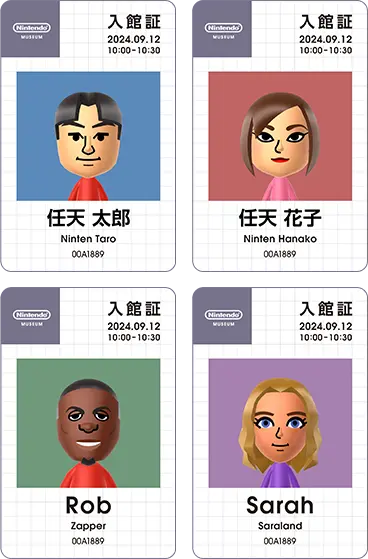
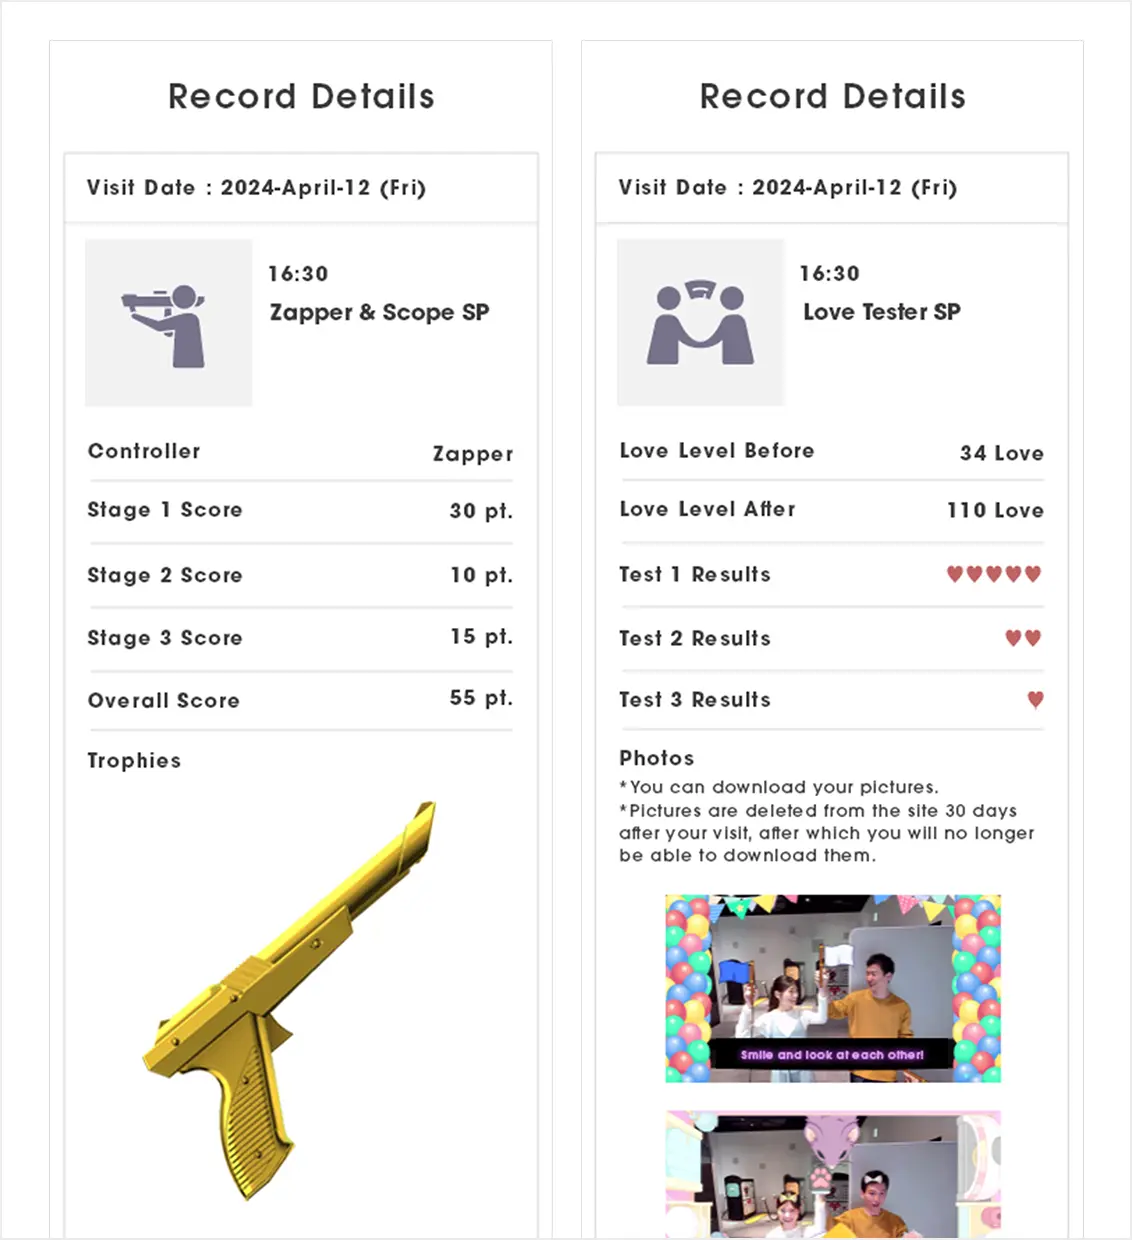
Scores and photos from the interactive exhibits can be recorded to the Nintendo Account of the person being assigned a ticket.
If tickets are not assigned to others, information for accompanying visitors will be recorded to the Nintendo Account of the purchaser. Please note that assigning a ticket can be done within 30 days, including on the day of your visit.
Entering
Nintendo Museum
1.Present your QR code and identity document
When entering the museum, present your QR code and ID to the attendants at the security gate. A passport is the only accepted form of ID for non-Japanese nationals. If a visitor's identity can't be verified, they may be denied entry into the museum.
Accepted Forms of Identification
- Passport
*A passport is the only accepted form of ID for non-Japanese nationals. - My Number Card
- Valid driver's license (including proof of driving history)
- Residence card
- Certification of your accessibility need (or Mirairo ID)
Minors can also use the following forms of identification:
*A passport is the only accepted form of ID for non-Japanese nationals.
- Maternal and Child Health Handbook
- Health Insurance Card (Health Insurance Eligibility Certificate)
- Student ID (including student handbook)
2.Scan your QR code
at the gate
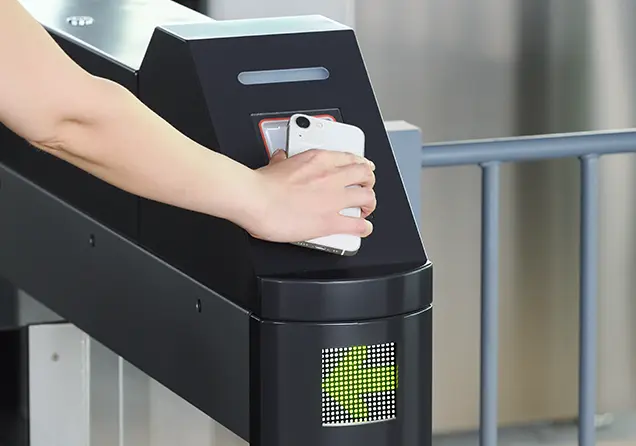
When you scan your QR code at the gate, you'll be presented with a temporary ticket that you will then exchange for your play ticket. Don't forget it!
3.Undergo security check
Do not bring the following items into the museum: Thank you for your understanding.
Prohibited items
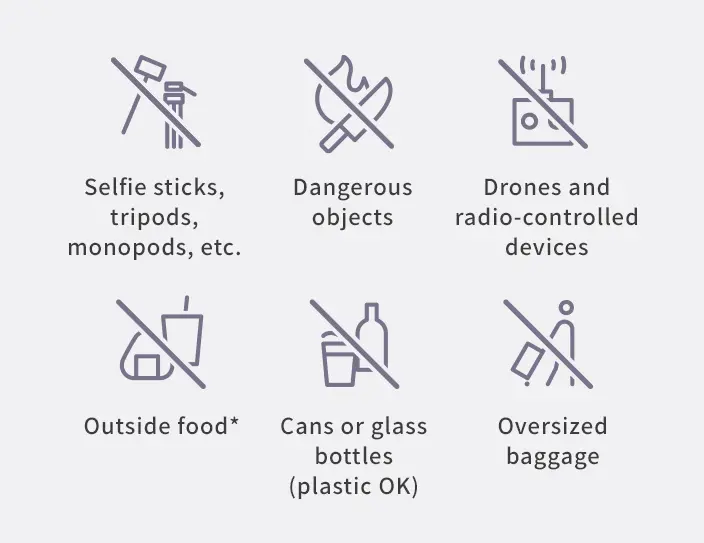
*Excluding baby food and snacks for small children. Those with allergies or other restrictions may bring their own meals.
4. Accept your ticket
Exchange your temporary ticket for your play ticket.
Take care not to lose your ticket. You'll need it inside the museum.
Making
a Reservation
for
the Craft & Play Workshop
Visits to the workshop require same-day reservations. A separate fee is required to participate.
Reservations are on a first-come, first-served basis, so if you're interested, be sure to request a reservation as soon as possible upon entering the museum.
What is the Craft & Play workshop?
You can check available time slots and make reservations at the information counter in the lobby on the 1st floor of Exhibition Building 1 or at the Craft & Play workshop information desk on the 2nd floor of Exhibition Building 3.
*There is a limit to the number of people who can participate in each time slot. If you wish to participate in the workshops, please make a reservation as soon as possible.
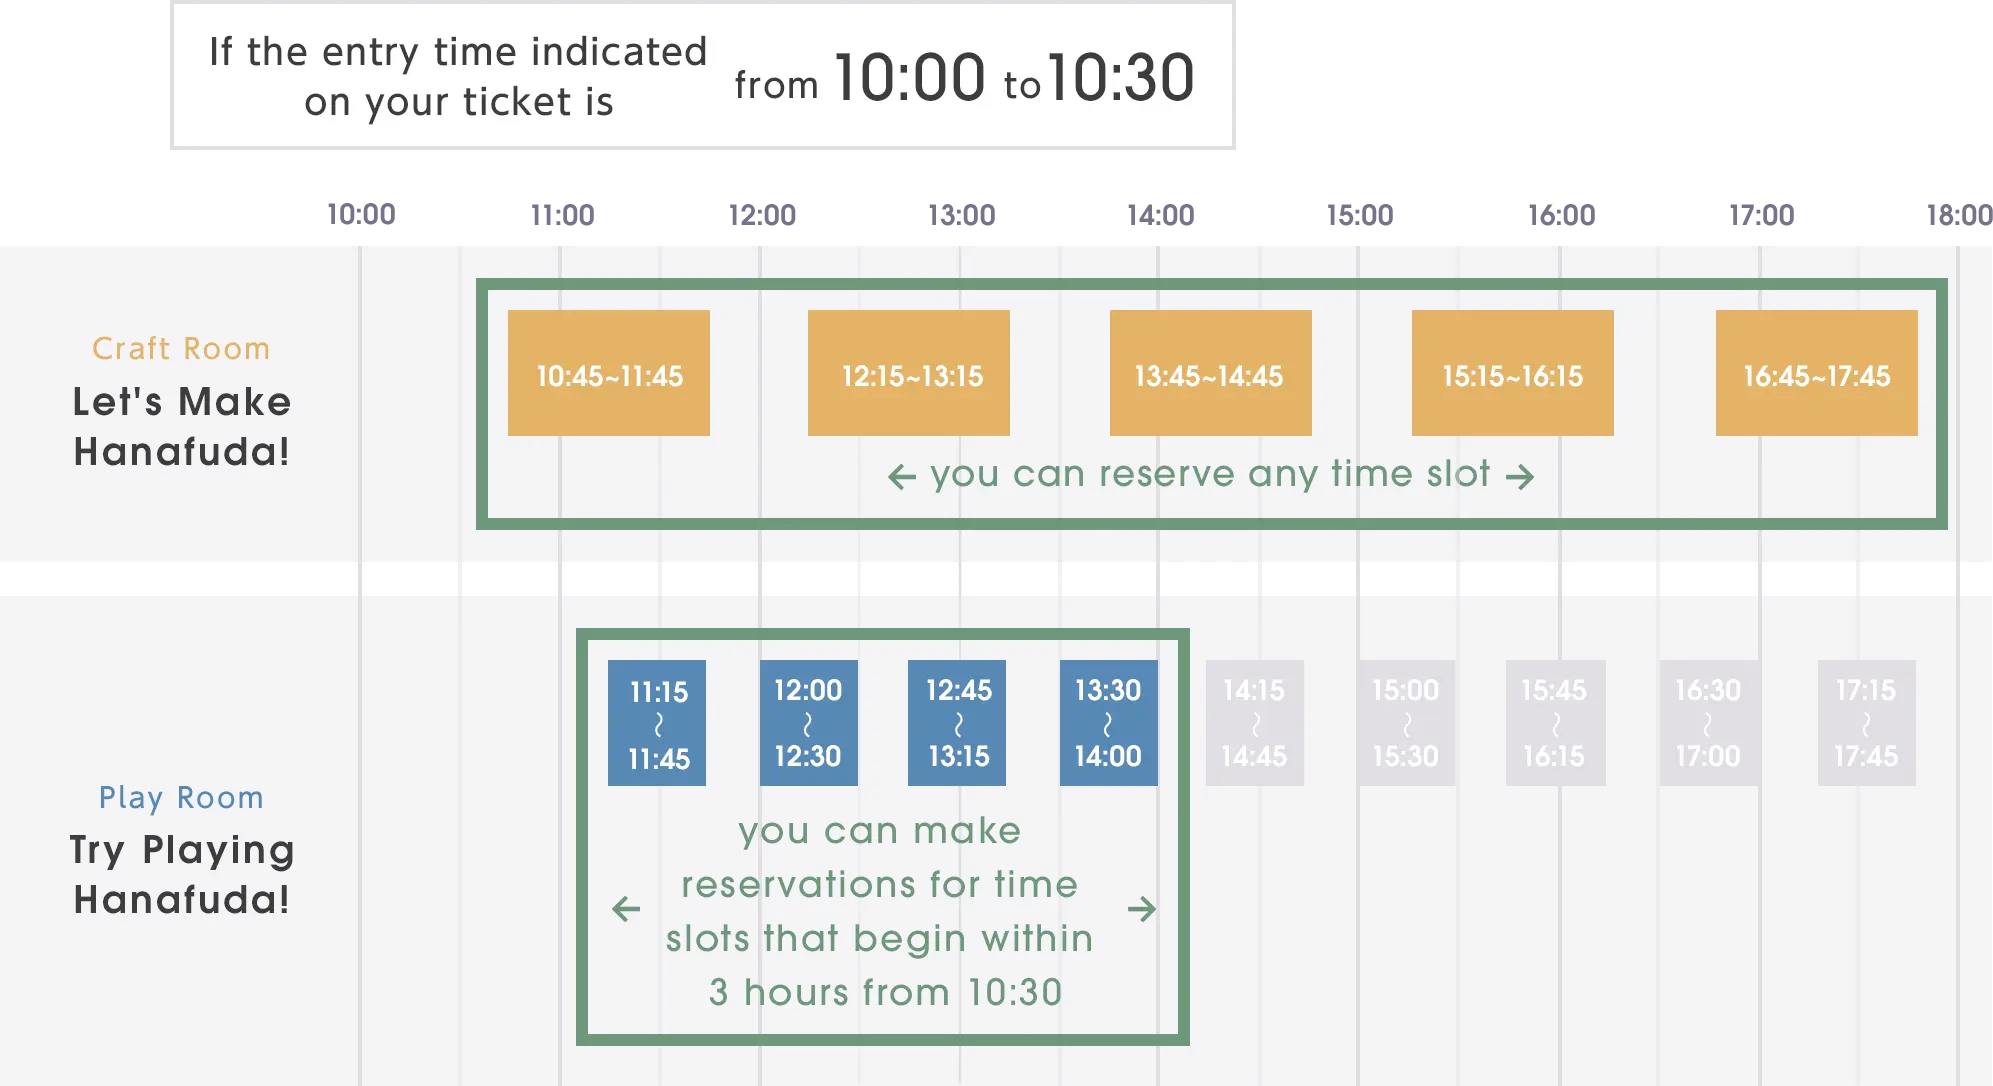
*For Try Playing Hanafuda!, you can reserve any time slot that begins within three hours of the entry time indicated on your ticket.
*For Let's Make Hanafuda!, you can reserve any available time slot.
*The workshop schedule has changed from Wednesday, April 2, 2025.
Time Schedule
← You can scroll left and right →

Example of workshop reservations
← You can scroll left and right →
From Making a Reservation to Participating
1. Make a reservation
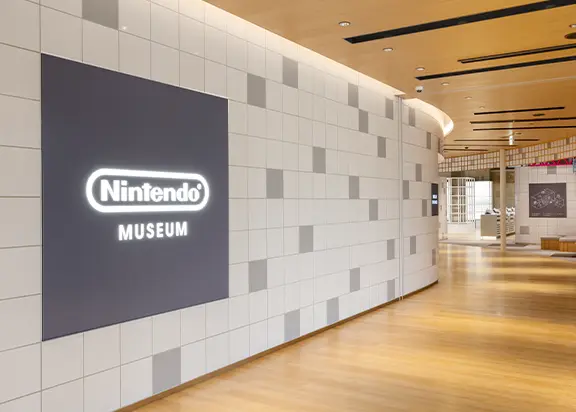
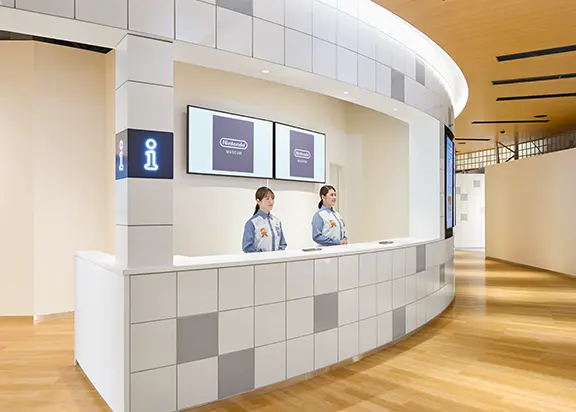
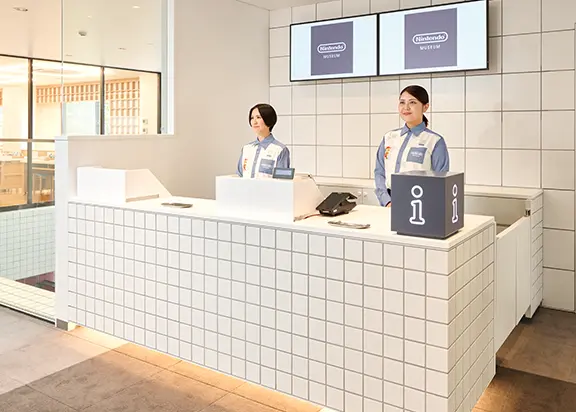
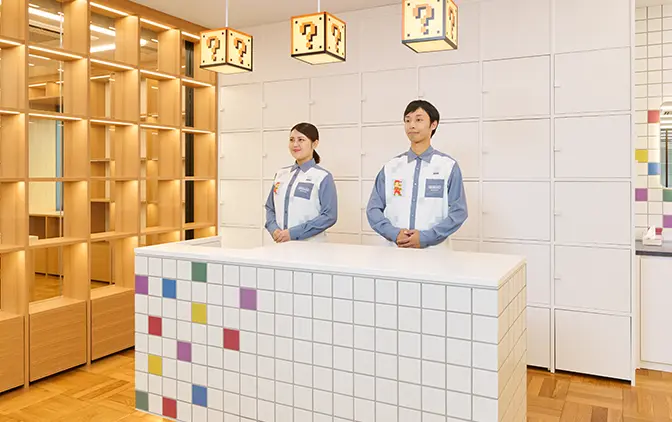
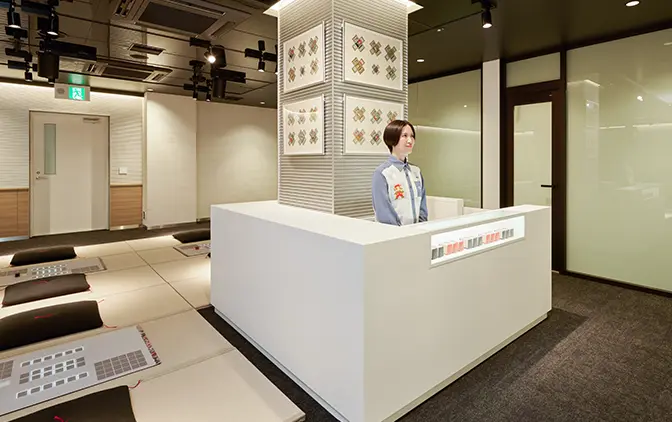
You can make reservations at the information counter in the lobby on the 1st floor of Exhibition Building 1 or at the Craft & Play workshop information desk, located in front of the Play Room, on the 2nd floor of Exhibition Building 3.
Information Counter in Exhibition Building 1, 1st Floor Lobby

Craft & Play Workshop Information Desk in Exhibition Building 3, 2nd Floor


2.Pay
Payment of the participation fee is due when the reservation is made. In addition to cash, various credit cards, e-money, and QR code payments are also accepted as forms of payment. Please note that post reservation cancellations are not allowed. Thank you for understanding.
3.Go to the venue
Go to the Craft Room or Play Room (on the 2nd floor of Exhibition Building 3) 10 minutes before the workshop begins. If you arrive later than the start time, you will have to join the workshop while it's in progress.
Craft Room
Play Room
Please Be Aware
Each visitor may participate in a workshop just once. If reservations are fully booked, you may not be able to participate. Thank you for understanding.
